To insert groups stored in UpdateBIM, it’s essential to be in the appropriate view where the insertion will take place.
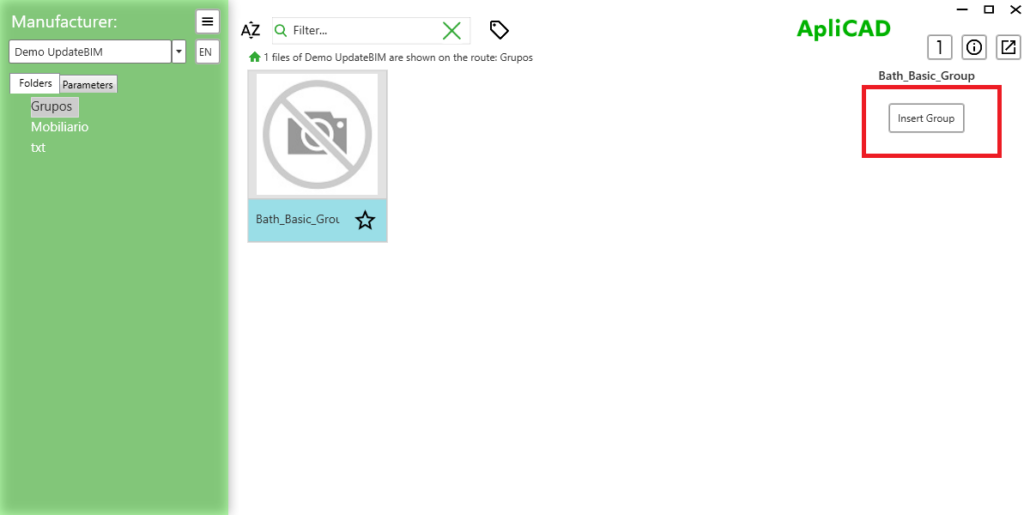
Once you’ve selected the group in Cloud Access, the form will display a specific option, as illustrated in the image.

By clicking the “Insert” button, the program will automatically position the group at the center of the active view in Revit.
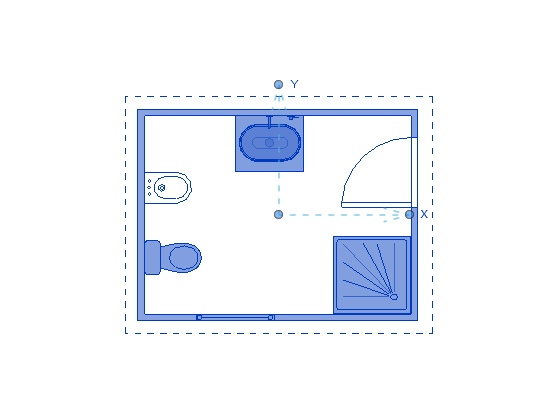
As a result, the selected group will be inserted into the view, ready for you to work on it.

Many users have predefined groups, such as a standard bathroom layout, that can be easily decomposed. This allows for the placement of all the standardized objects needed for that type of bathroom in a single action when the group is inserted, making the design process more efficient and streamlined.


