By default, when a family is added or modified in UpdateBIM, the image that is displayed is the one automatically generated from Revit.
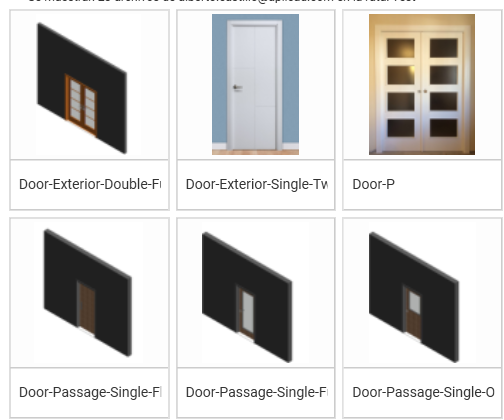
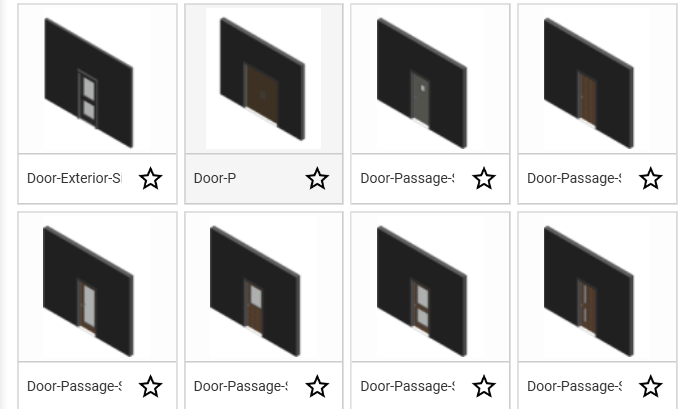
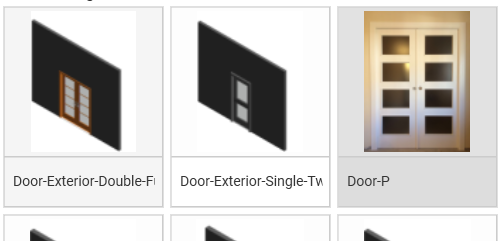
In many cases, this image may not be sufficiently representative. Moreover, when there are several very similar elements, it becomes difficult to distinguish their differences using only this automatic view, as can be seen in the following example:
To modify the displayed image and thereby improve usability, there are two ways to do so:
- From the Content Manager
- From the web interface
From the Content Manager #
When the family is created, or when it is edited later, it is possible to define or update the image associated with it.
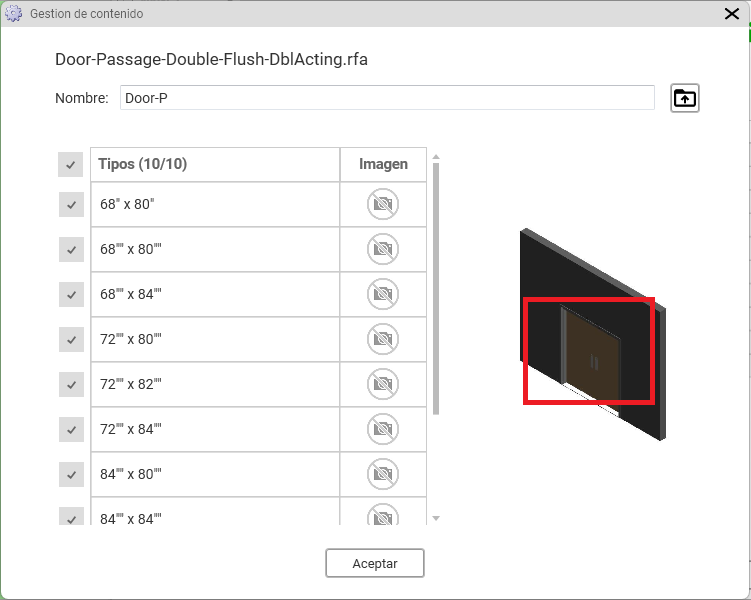
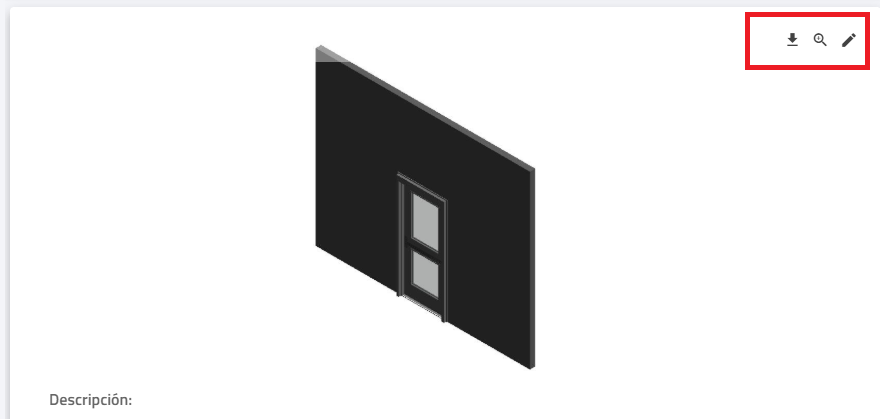
We will be prompted to select an image from our computer, allowing us to add any type of image: from more technical images that provide greater detail, to images taken from the manufacturer’s catalog, as shown in the following image:
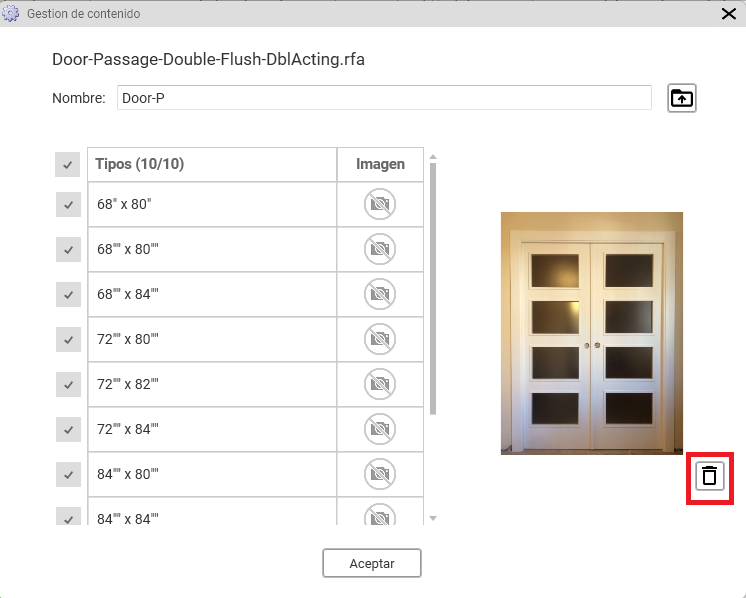
As can be seen, a new icon appears—highlighted in red in the image—which allows the custom image to be removed and reverts back to using the image automatically generated by Revit.
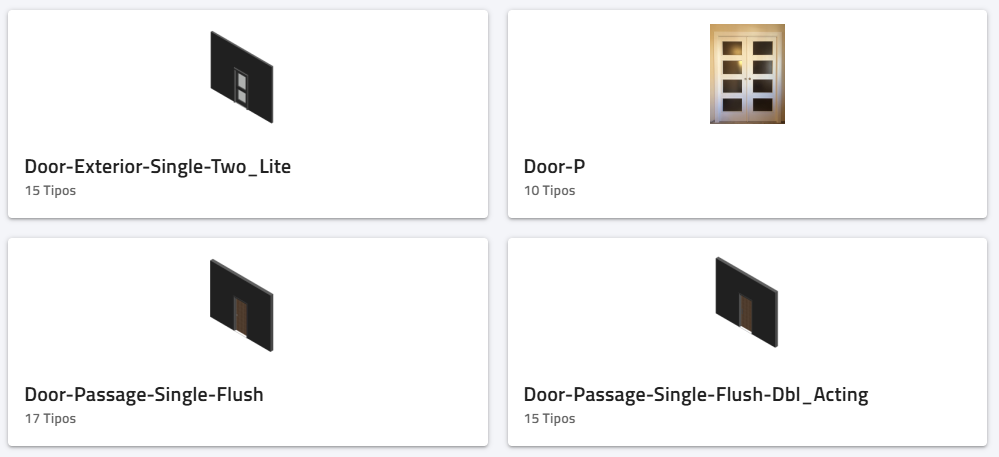
The image modification feature is available for all elements that display the camera icon, allowing specific images to be added to each type.
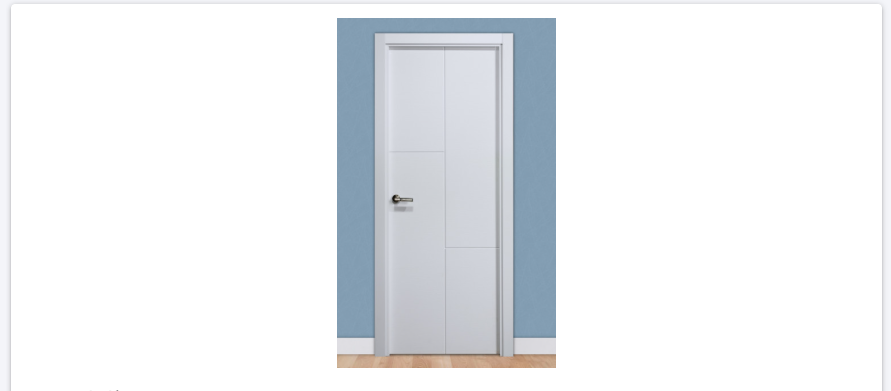
The final result is as follows:
Generation from the Web Interface #
From the web interface, the system works in a similar way, for example:
For example, we can double-click on the Door-Exterior_Single_Two_Lite family and access all of its information, as shown in the following image:
When hovering the cursor over the image, the icons highlighted in red are activated, as shown in the image, allowing the displayed image to be modified.
In this way, it is possible to select an image from the computer to replace the existing one.
For example:
The resulting appearance in Revit is as follows: