Just like other objects managed in UpdateBIM, groups may require updates. This could be due to modifications in any of the objects that are part of the group, necessitating an update to the group as a whole, or changes in the number, position, or composition of the elements within it.
The best process for editing a group is as follows:
- Insert the group into a new project.
- Edit the Group.
For example:
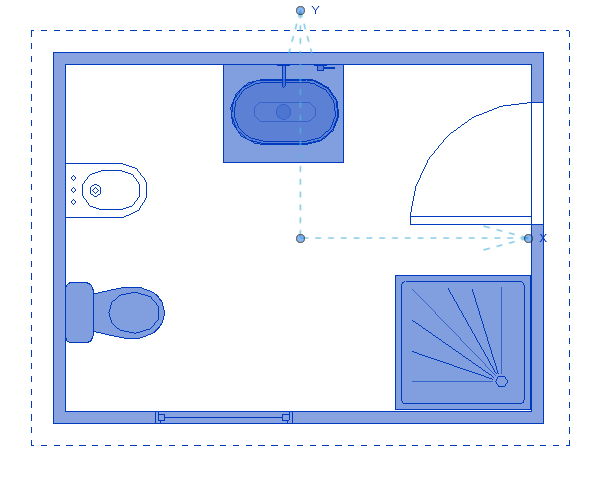
Suppose you edit the original group and add a couple of additional objects.
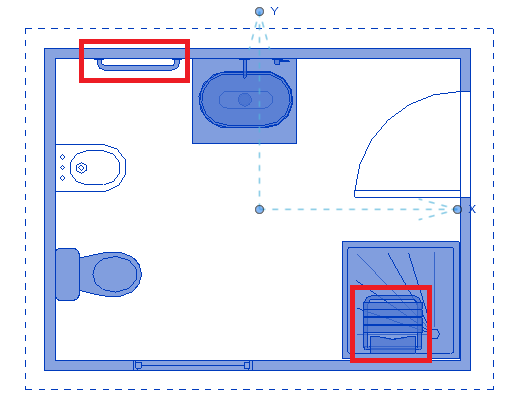
As shown, we have added the items marked in the previous image.
Save the edited group to your computer’s hard drive. To do this, locate the edited group in the ‘Project Browser,’ within the Groups section.
IMPORTANT: The group must be saved with the same name as the original.
Once the group is saved, proceed to update it in UpdateBIM. Open a new blank project and use the Content Manager.
Select the group you wish to update.
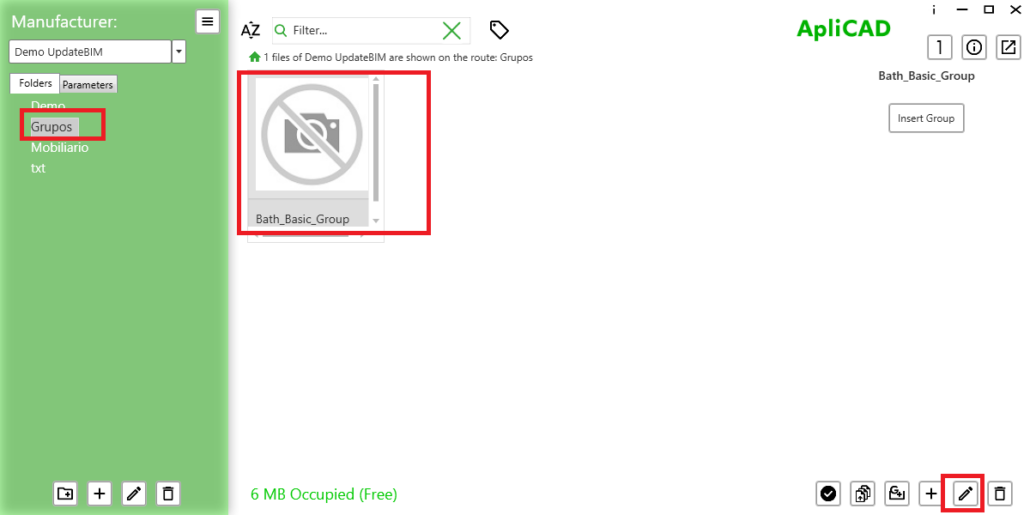
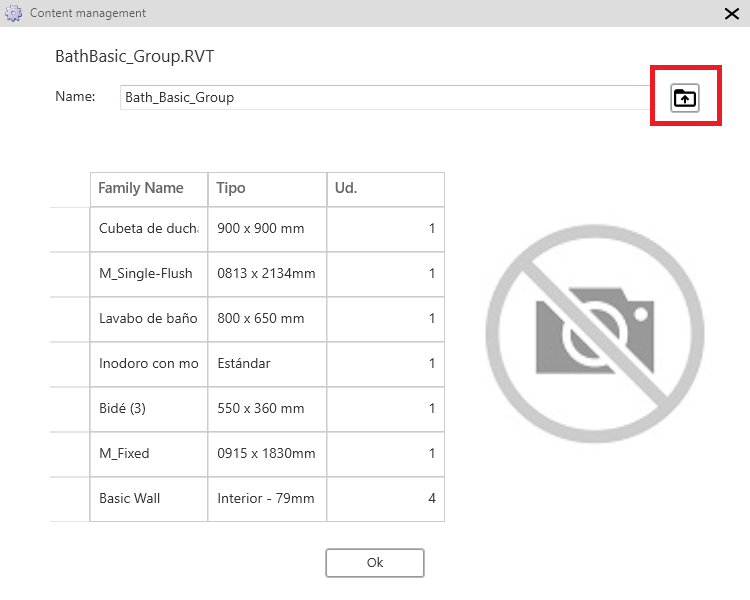
Initially, the elements that are part of the group will be displayed. To continue, click the icon in the top right to access and select the new group file.
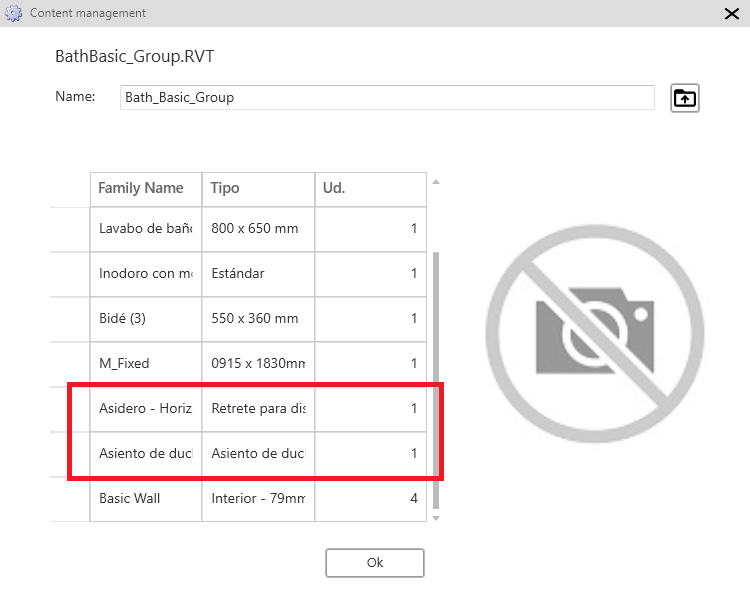
As we can see, the list has expanded with the new items we added. Next, click ‘OK’ and then proceed to publish the group so that it is available to all users.


