For families with multiple types defined through a .txt parameter file, UpdateBIM allows the administrator to upload all the information to the cloud, making it easy for the user to access and use.
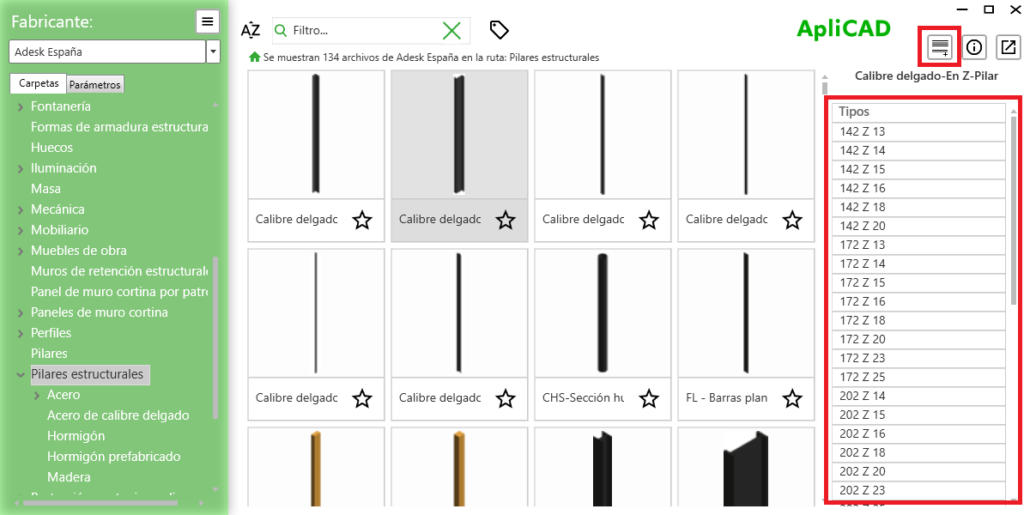
Therefore, if a .txt file with the types has been uploaded to the cloud, the icon indicating this situation will be as follows:

In addition to the icon, a summarized list of the types will be displayed on the right side of the Cloud Access screen, as illustrated in the figure:

By clicking on any of the types in the list, the program will insert the selected type.
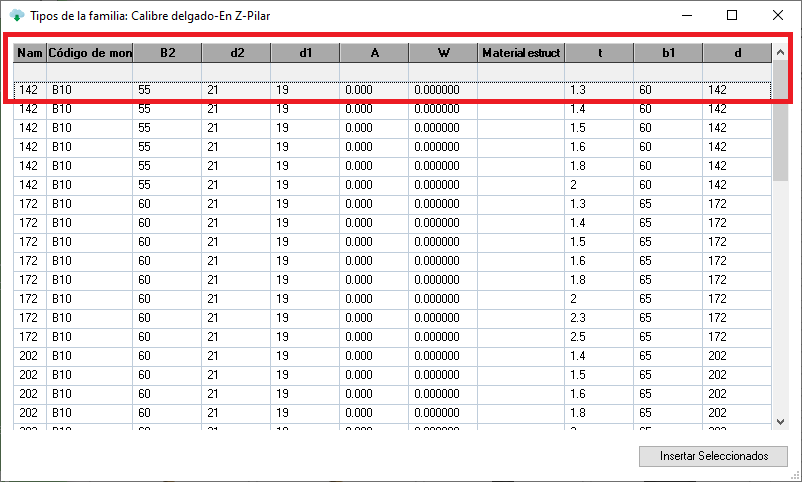
On the other hand, if you click the button, a selection list with filters will drop down at the top, allowing you to choose one or more types for insertion.

On this screen, if you select a single row and press the “Insert Selected” button, the program will behave the same as if you had made the selection on the main screen.
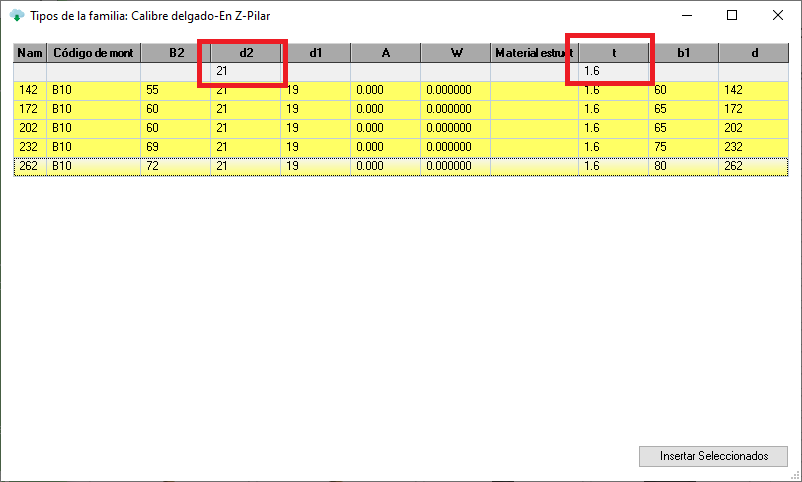
However, if you select multiple rows by dragging over them or using the filters, the system will insert all the selected types without directly positioning them in the project, leaving them available for later insertion through Revit’s traditional method.
For example:

We applied filters to two fields and selected the 5 types that meet the desired condition. By pressing “Insert Selected,” the types will be created in the project.


